Using 'Simple LandingAI' Widget
Introduction
This Landing AI widget allows users to import Landing AI models and use their prediction result as API value to control vehicle functions, streamlining the presentation of ideas about their SDV application without the need for in-depth web code manipulation.
Here we take demo case as an example to demonstrate how to create an AI-related Software-defined Vehicle prototype. The process is divided into two main parts, building an object detection AI model on the Landing AI platform LandingAI from scratch and deploying this model on digital.auto Playground.
Overview
The process is outlined in the following steps:

Step 1. Prepare LandingAI model
1.1 Register a LandingAI account and create an AI project
- Register an account at Landing AI homepage (https://app.landing.ai/login).

- After entering your personal account home page, click on Create Project title to create your project.
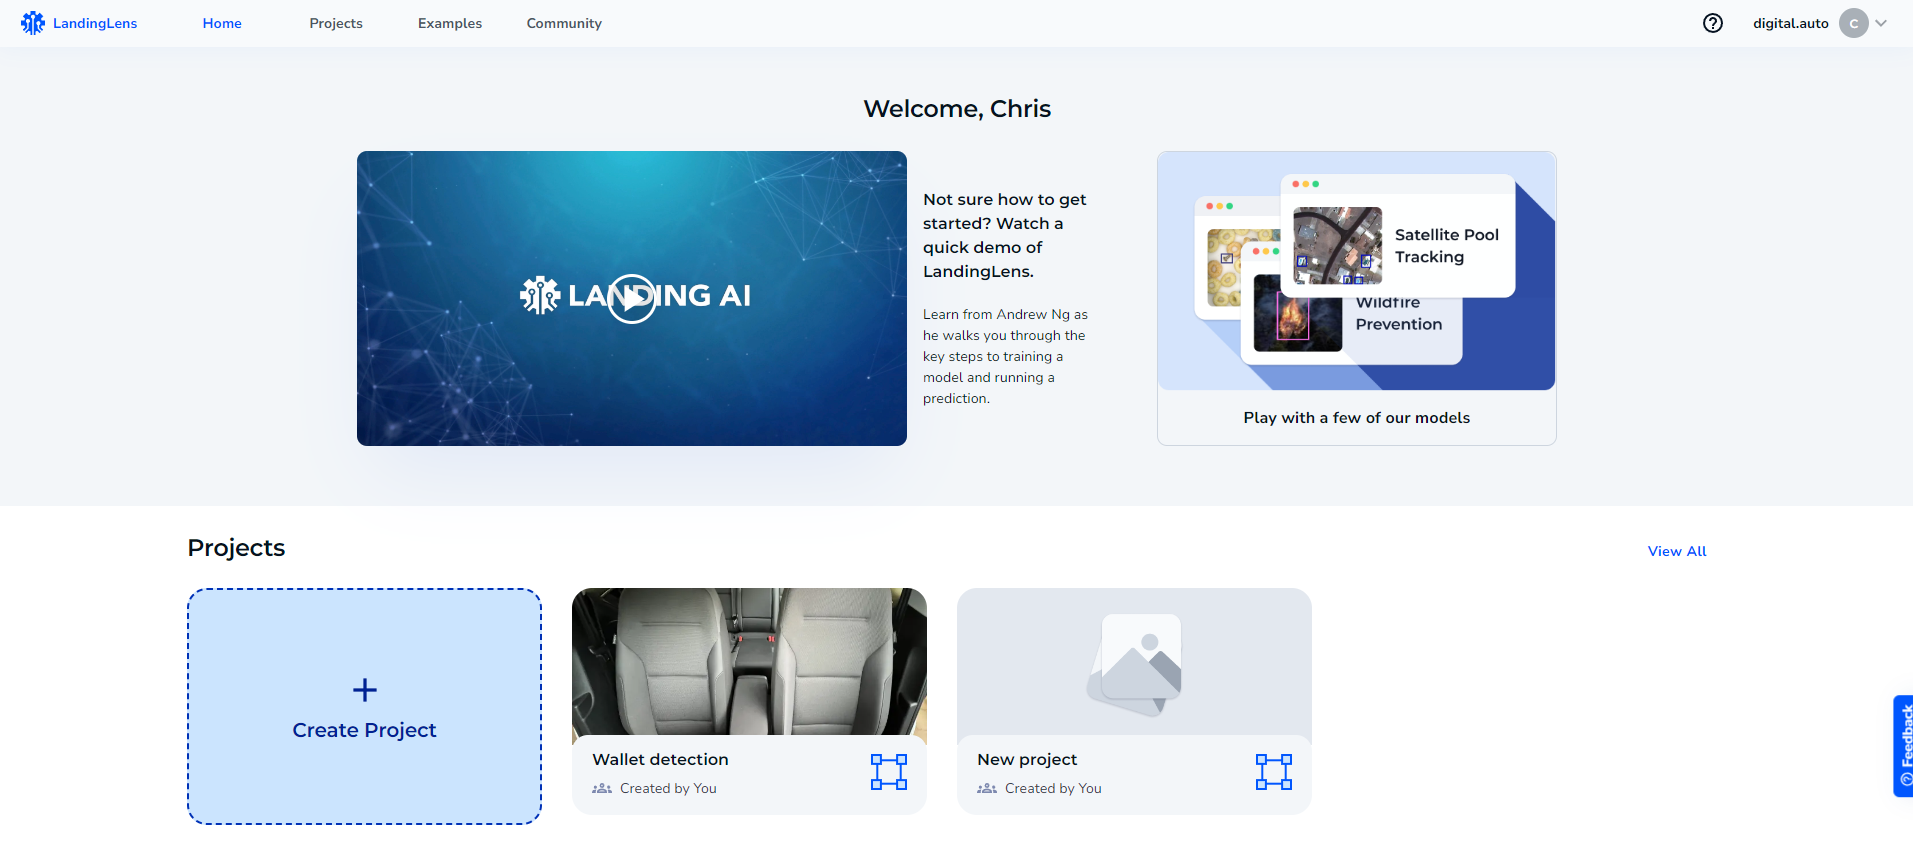
- After entering your created project, click on Edit icon and enter a descriptive name for your project.
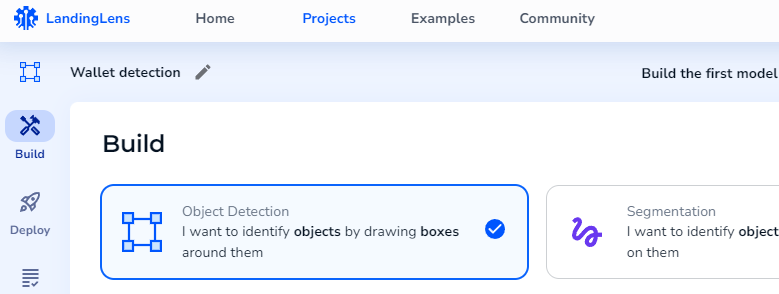
1.2 Select your project type
- Three main Computer Vision related tasks that can be developed on LandingAI:
- Object Detection: I want to identify objects by drawing boxes around them.
- Segmentation: I want to identify objects by painting pixels on them.
- Classification: I want to identify each image into different categories.
- For Wallet Detection project, we select the project type of Object detection.
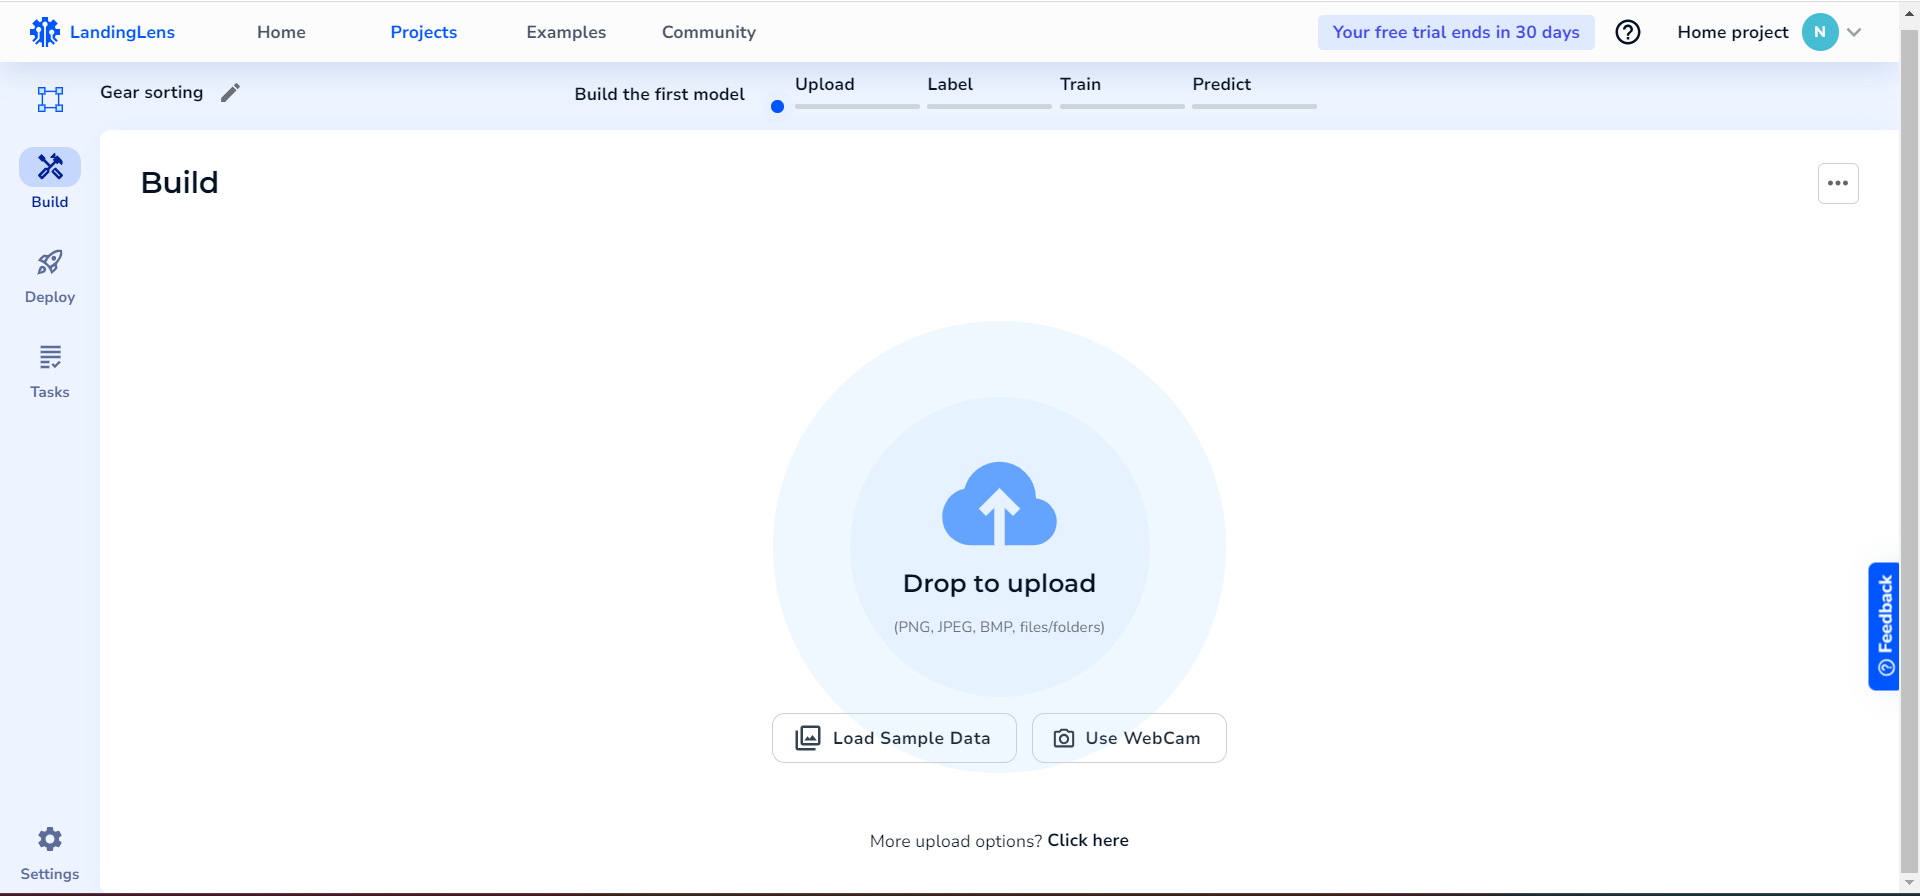
1.3 Upload your image dataset
- If you have labeled image datasets, you can upload them by selecting drop to upload button.
- Drag the image dataset to LandingAI on the upload image page.
- After uploading your dataset to LandingAI, the images will be automatically annotated.
- Drag the image dataset to LandingAI on the upload image page.
- If you only have some raw images without labeling, you can utilize LandingAI online annotation tool to label your images.
- Update your raw images to LandingAI as before, then click one image to enter the annotation editor.
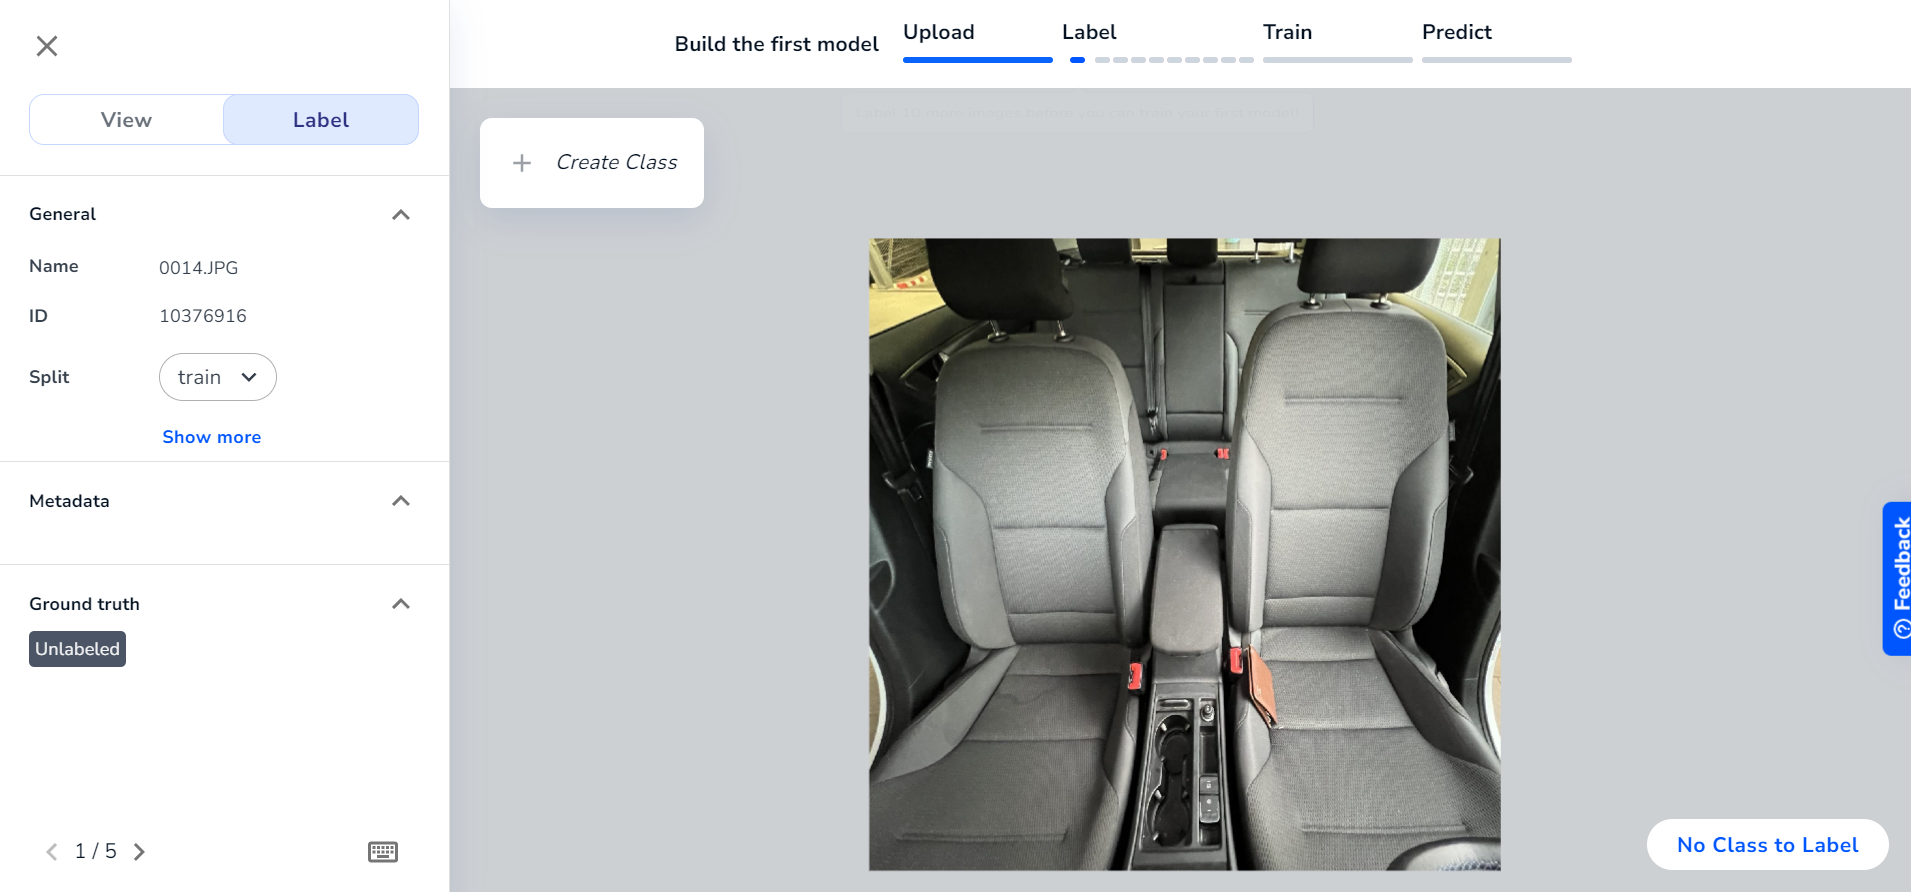
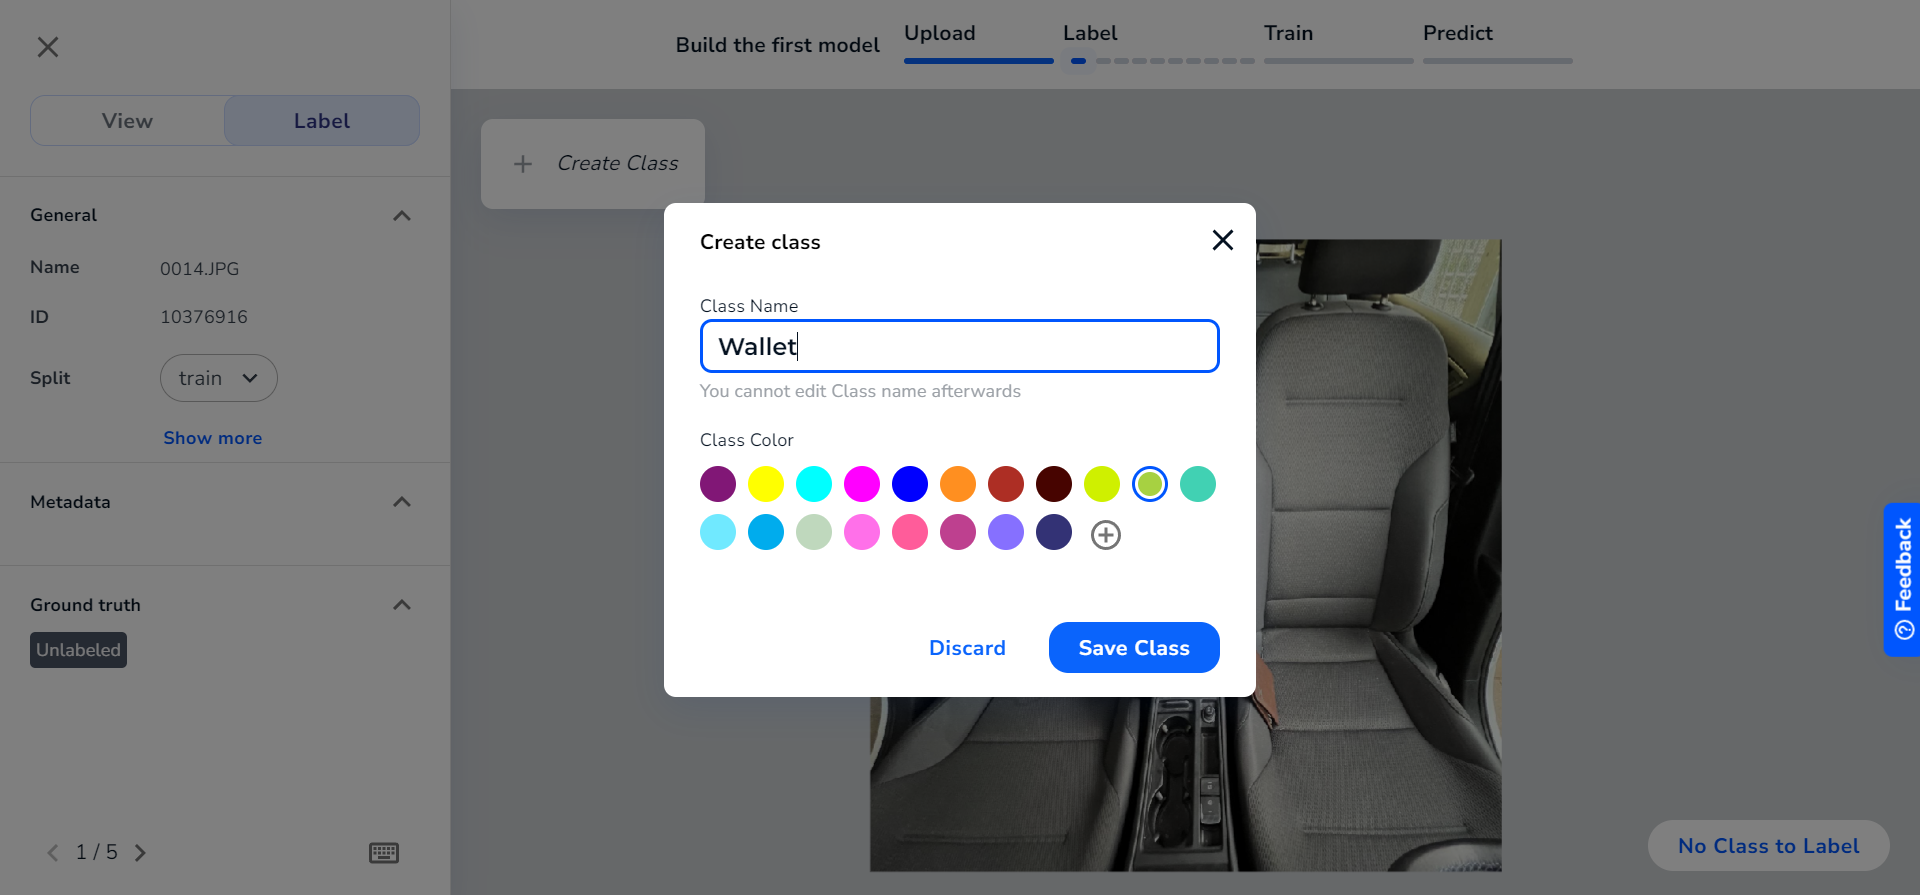
- Click on + Create Class to define the item you want to detect into a class, e.g., Wallet.
- You can label your images by drawing a box on the object that you want to identify, then press the left or right arrow keys on your keyboard accordingly to move to the next image.
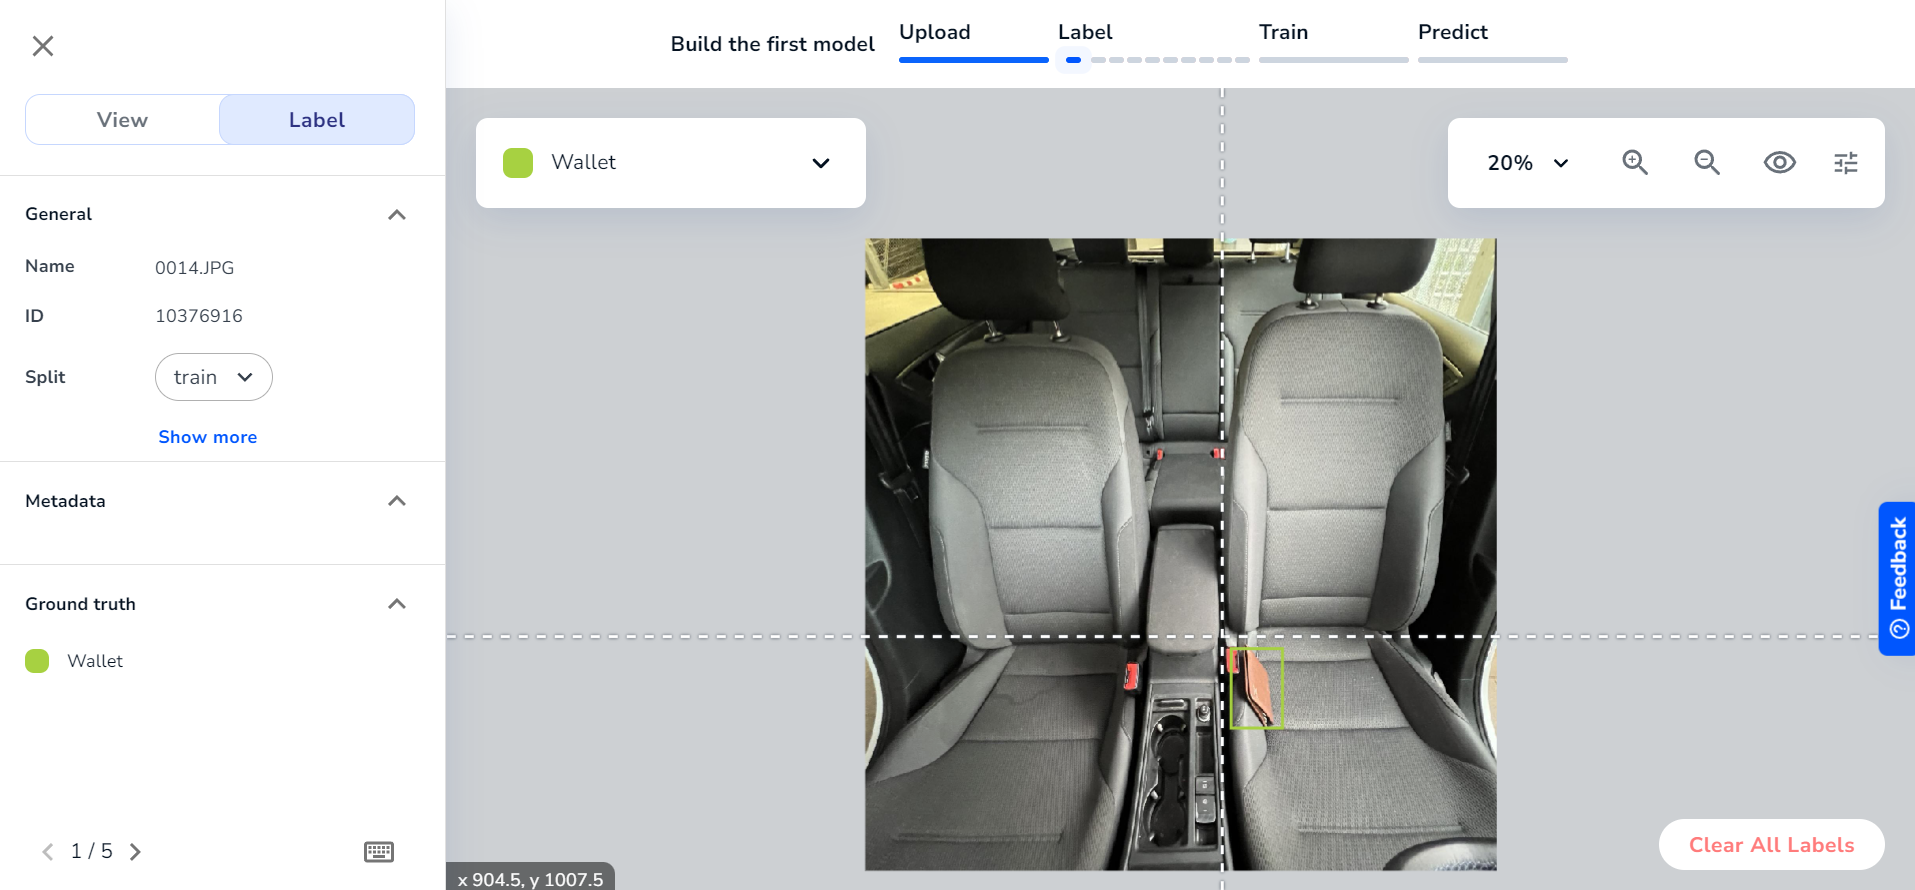
- If the image does not have any items to label, then click Nothing to Label on the bottom right corner.
- Update your raw images to LandingAI as before, then click one image to enter the annotation editor.
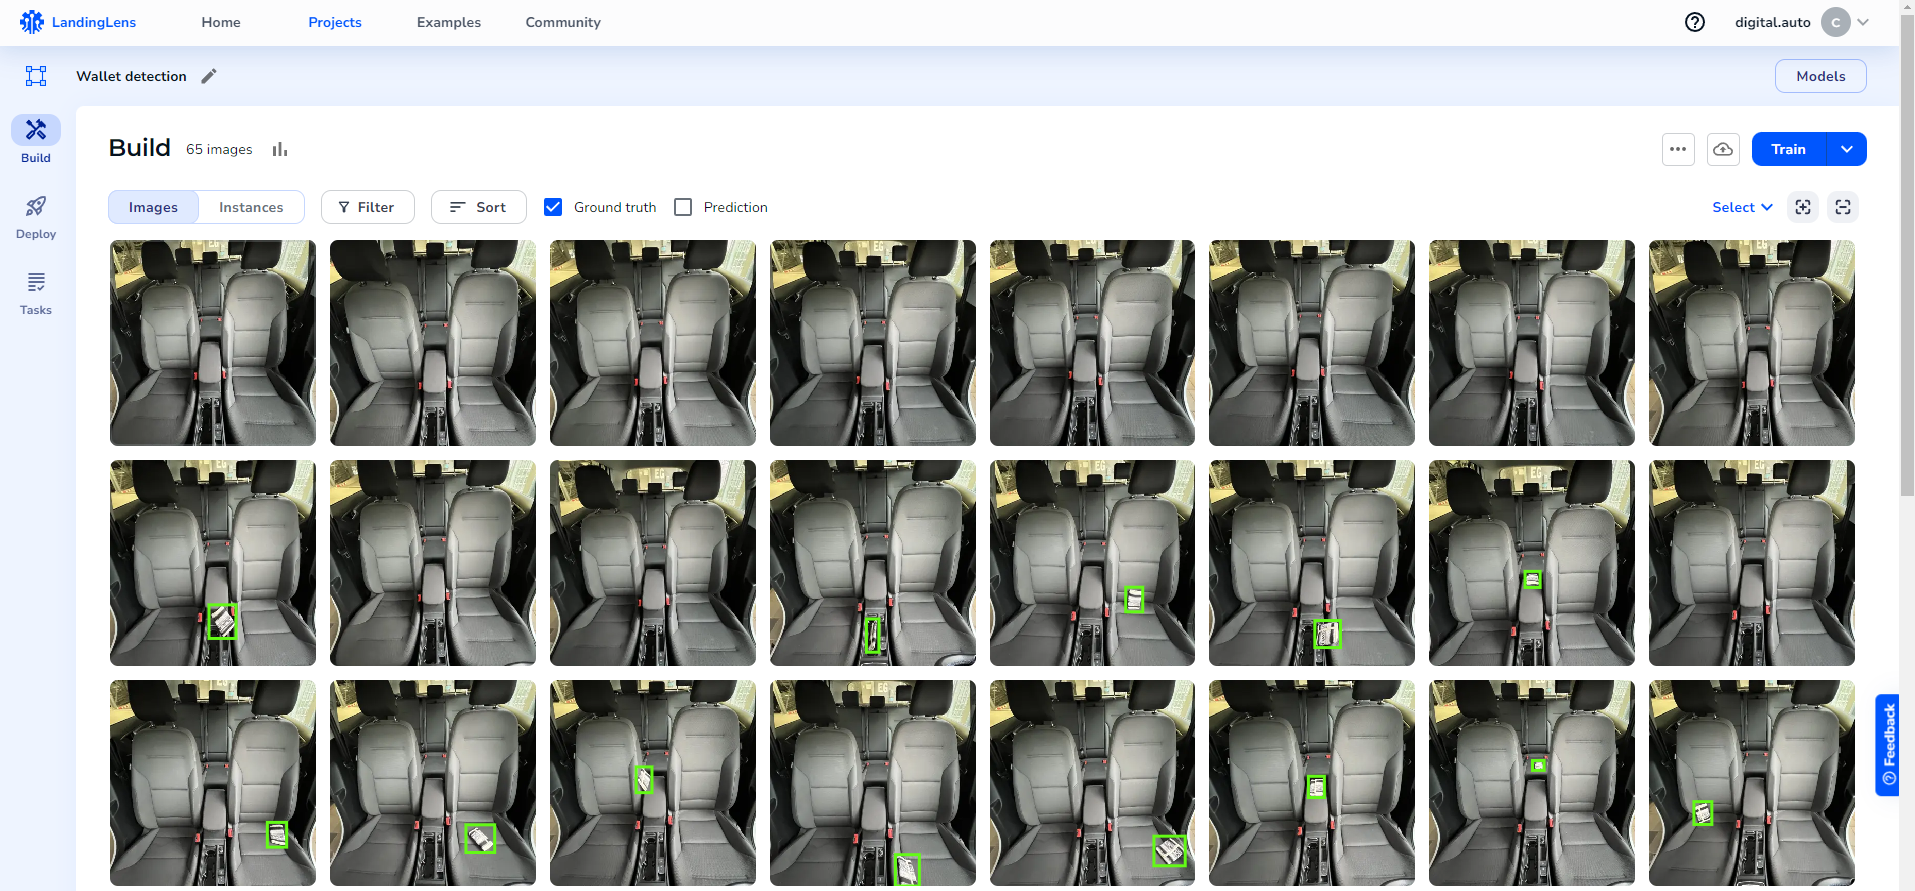
1.4 Train your model online
- After you prepare your dataset on LandingAI, click the Train button to start training your customized wallet detection model, which will take a few minutes.
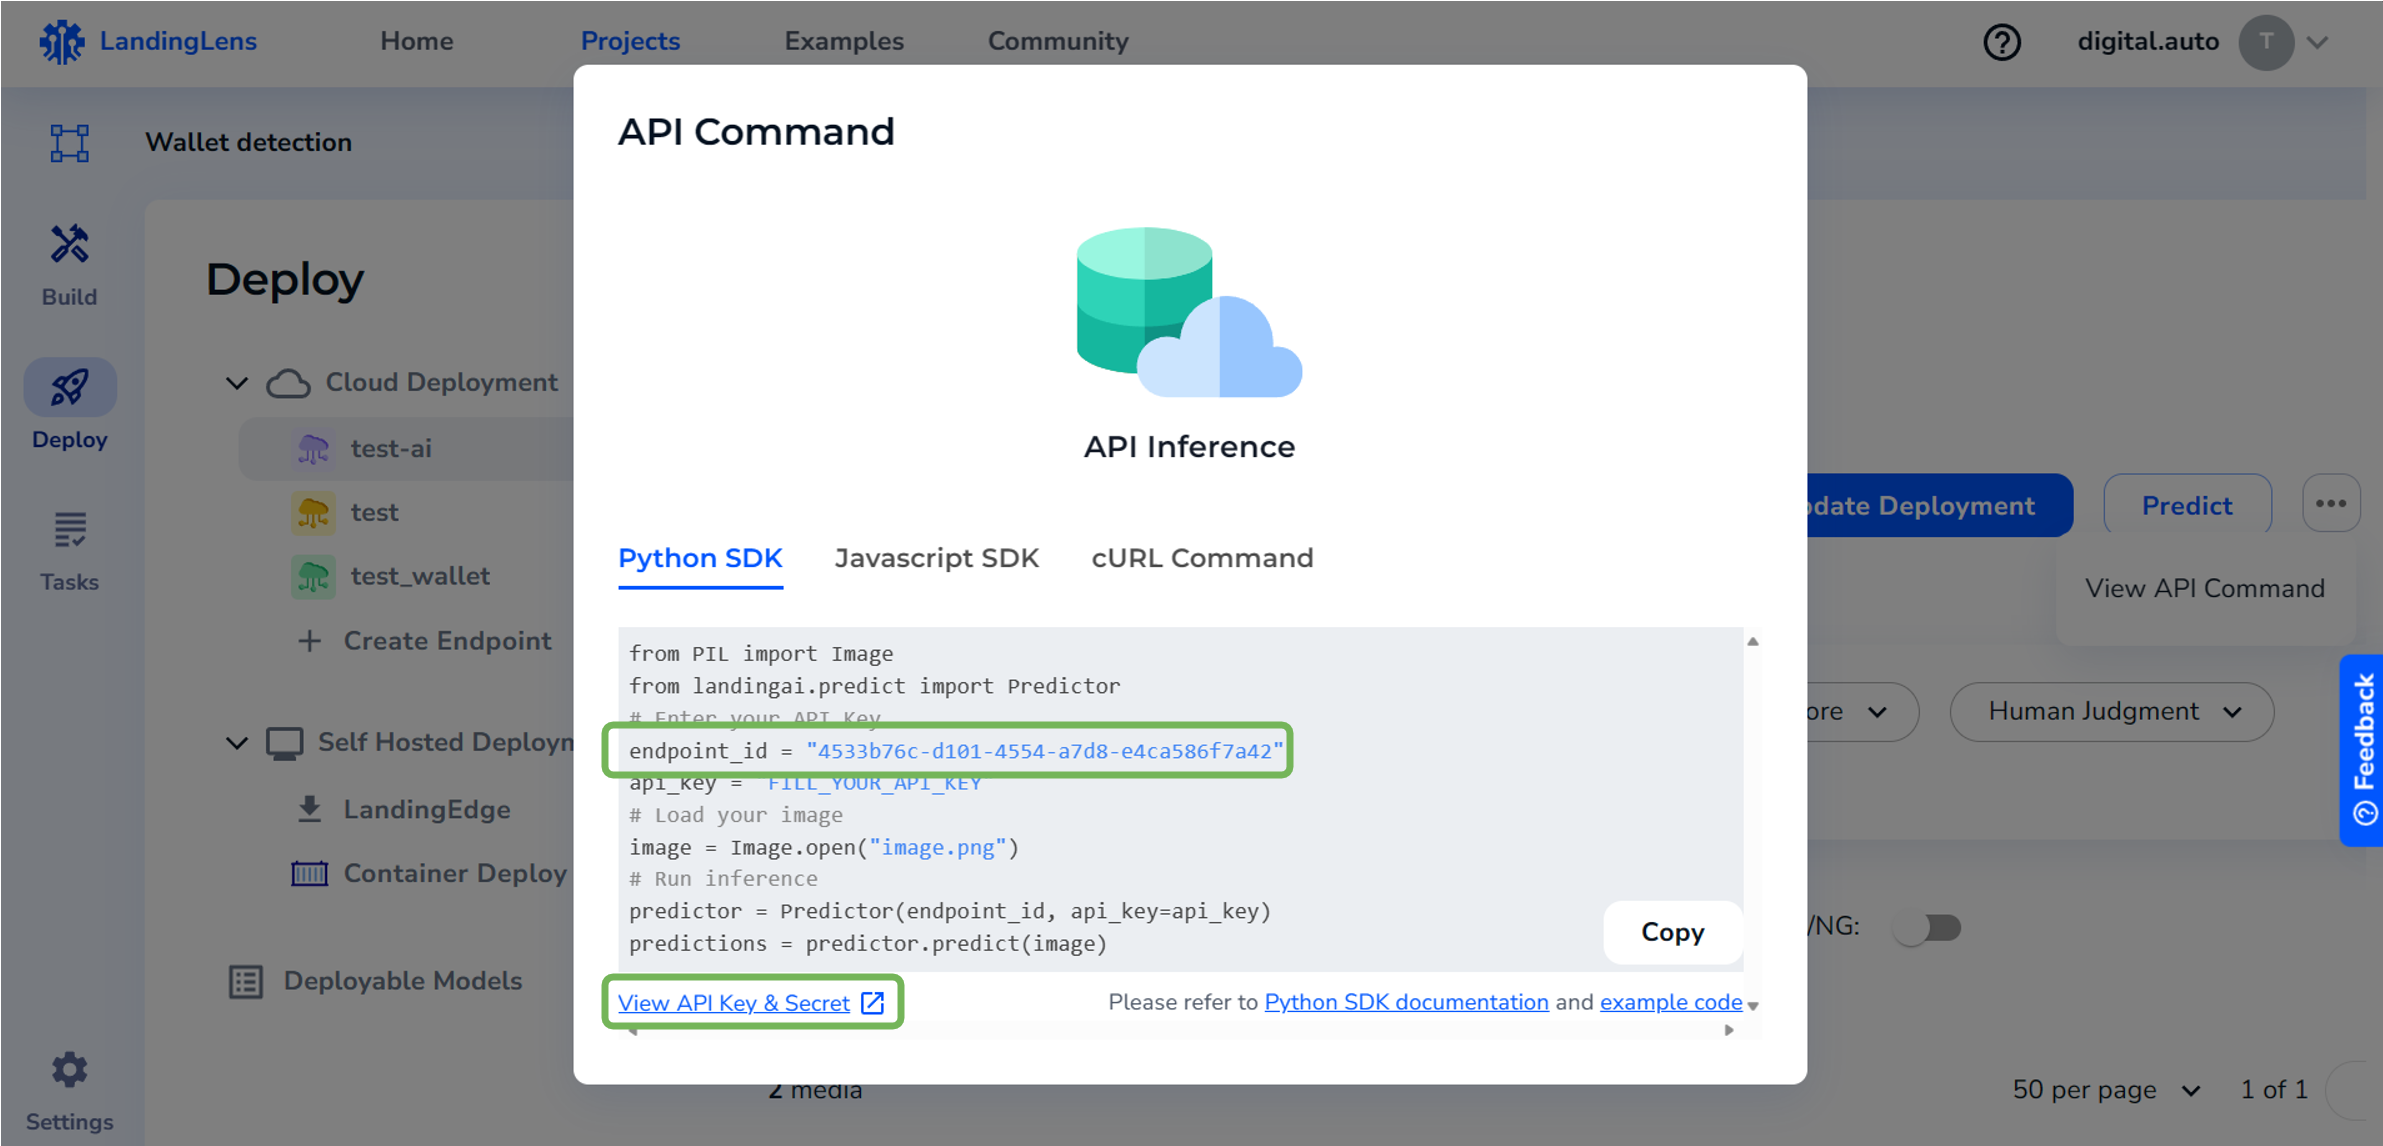
1.5 Generate your model API key
- Click on Deploy button in the left menu, then click on Create new endpoint and deploy. Give a name and click Create button to create your endpoint.
- Select View API Key, enter the name, and click Generate API Key to generate your personalized API key. Later during the deployment of digital.auto Playground, you will use API calls to send images by specifying your API key.
Step 2: Configure widget
Configure the widget using the JSON structure below to set up AI interaction and API control parameters.
{
    "options": {
        "endpoint_id": "<your_endpoint_id>",
        "landingAI_apikey": "<your_api_key>",
        "set_to_api": "<your_API_endpoint>",
        "datatype": "< boolean | float | integer >",
        "threshold": "<threshold_value>"
    },
}
endpoint_id: Your unique identifier for the AI model, allowing the import of trained models into the widget.landingAI_apikey: A private API key for authentication, ensuring secure access to your AI model.set_to_api: The specific API endpoint that you want to interact with using the widget. This could be an API for controlling vehicle functionalities, like turning lights on or off.datatype: If there is no threshold to toggle true or false. You can select between integer and float.threshold: A predefined value that determines when the set_to_api action should be triggered. If the AI model’s prediction score exceeds this threshold, the set_to_api field will be set to true. When there is no threshold, the API is set value based on the score and datatype.
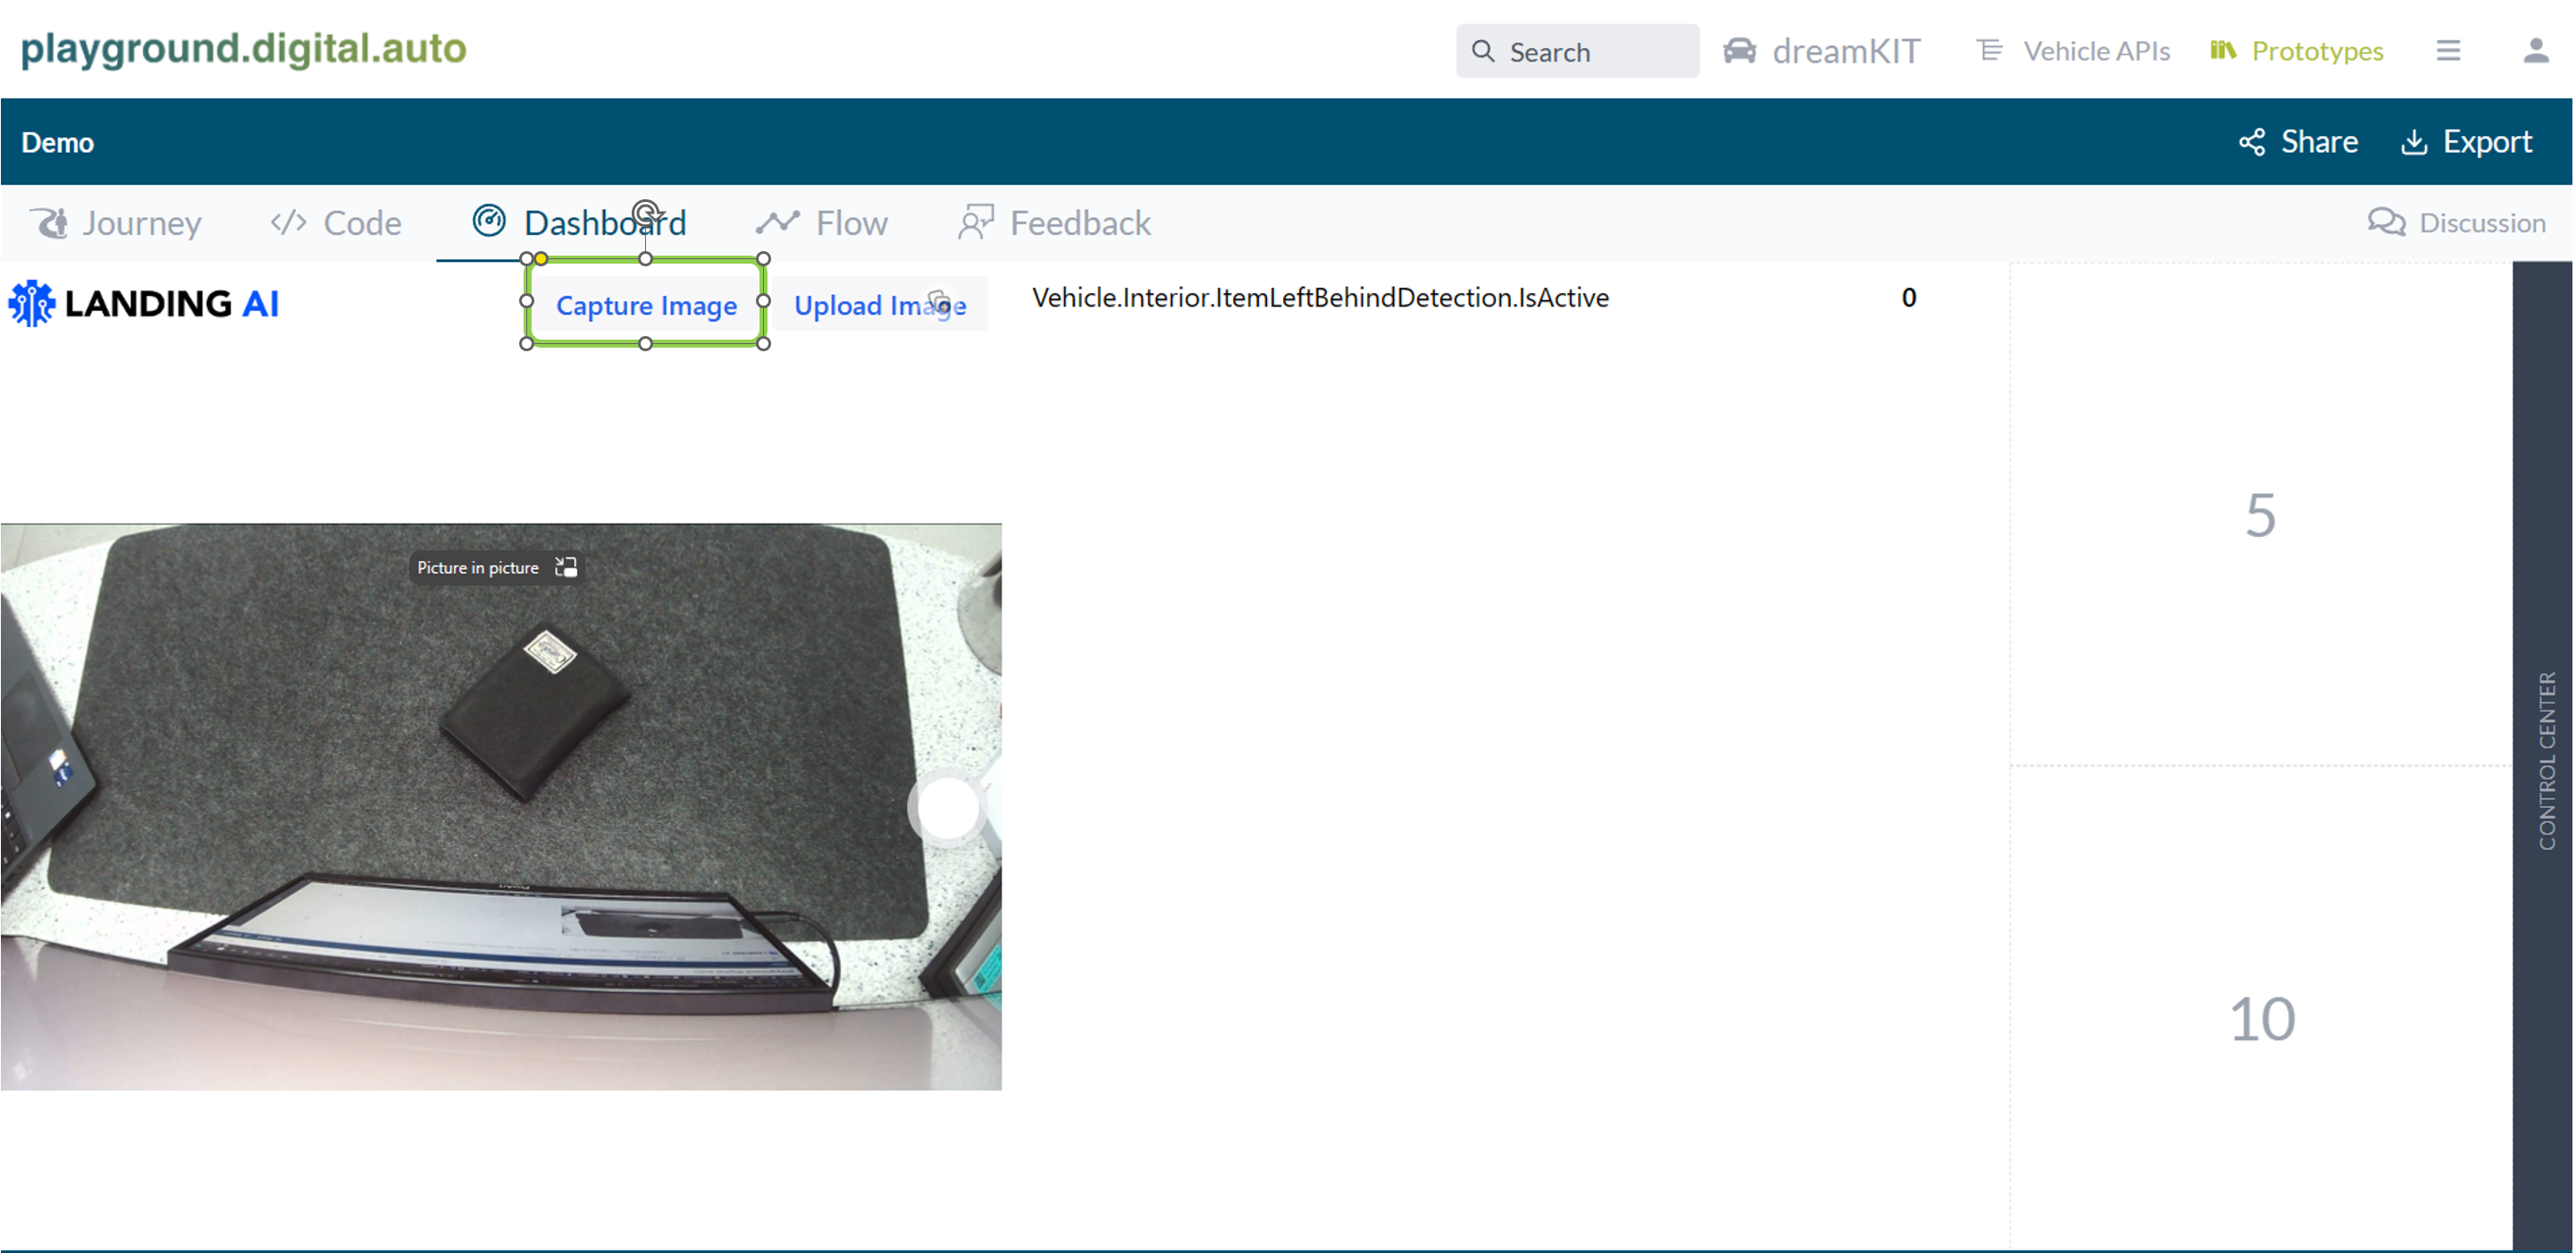
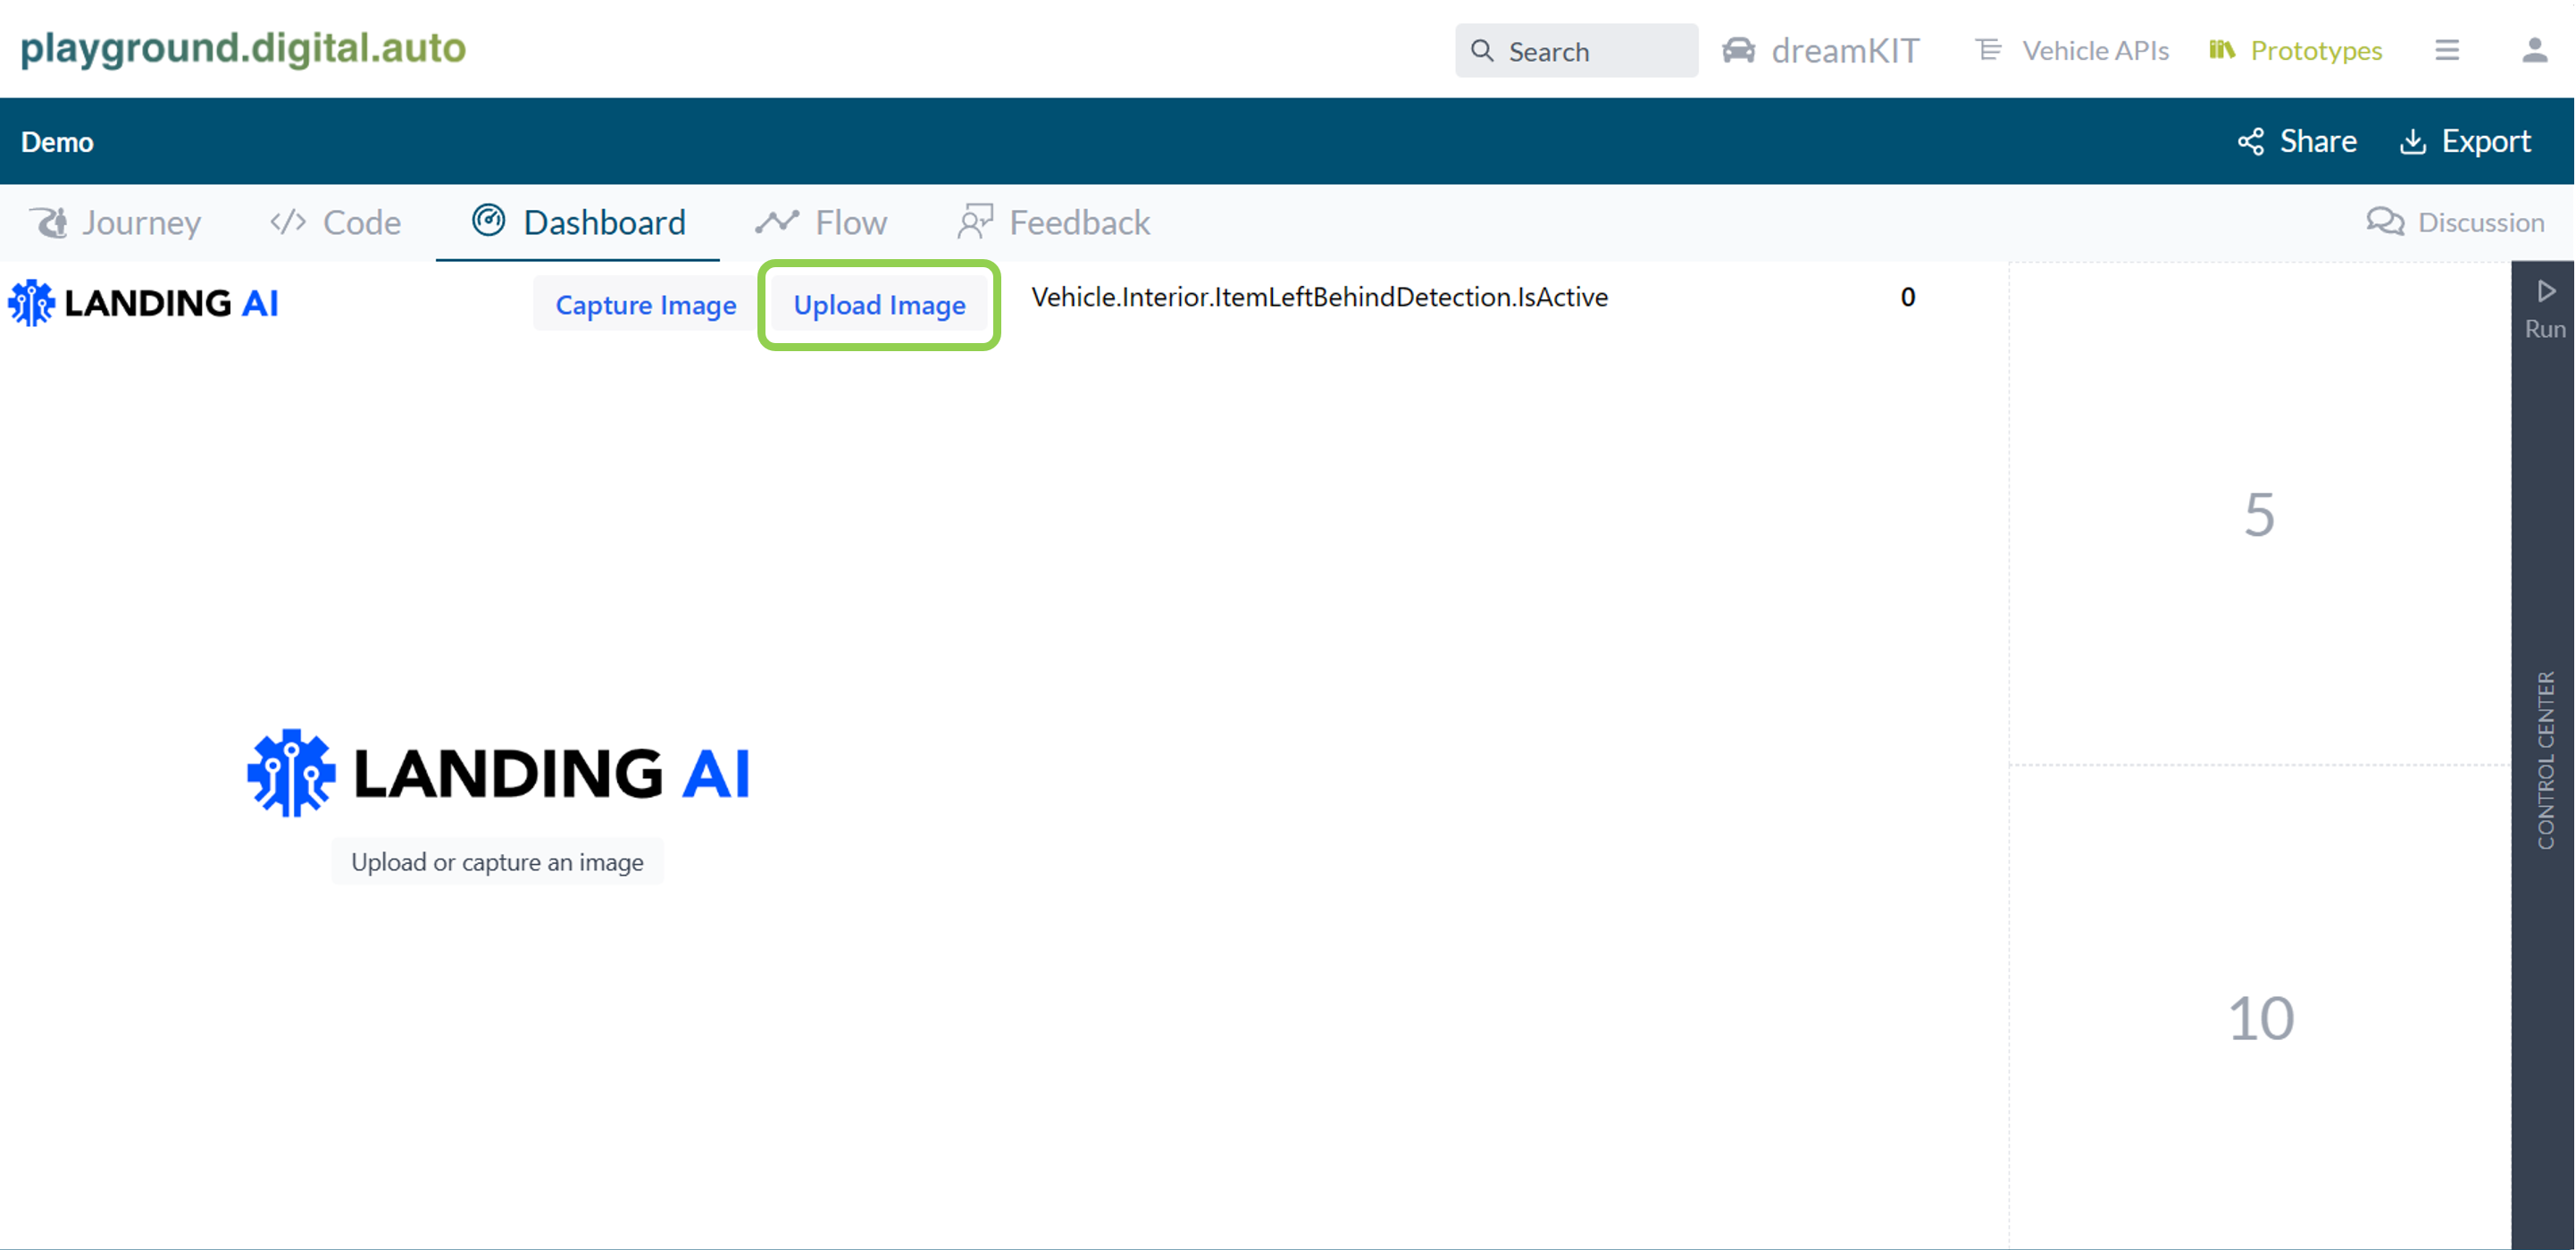
Step 3: Upload/capture Image
Upload or capture images for immediate processing and prediction.
Capture Image
Upload Image
Step 4: Predict
Inference LandingAI walet detection model with both capture and upload images
Capture Image

Upload Image
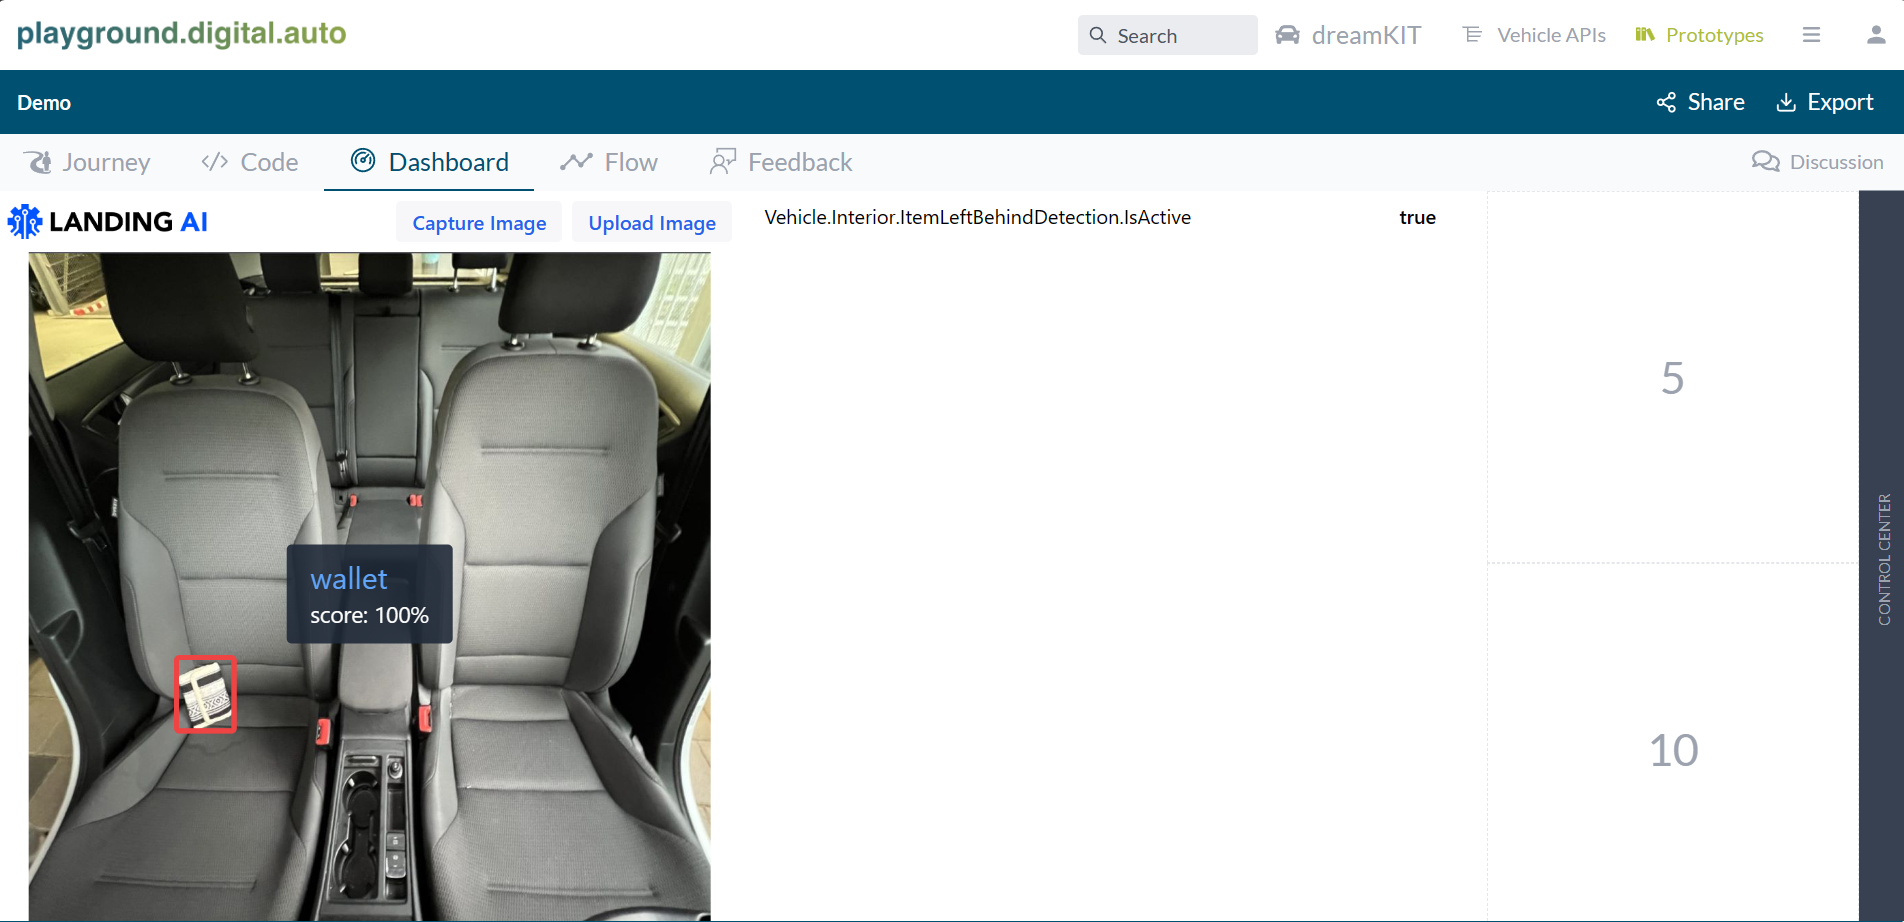
Step 5: Return result as API value
Based on the inference result on capture image and defined threshold, the widget sets the Vehicle.Interior.ItemLeftBehindDetection.IsActive value to true when the detection result from the Landing AI return score 92%